Product Description
Product Details
Shipping & Delivery
What You Get
Product Installation Guide
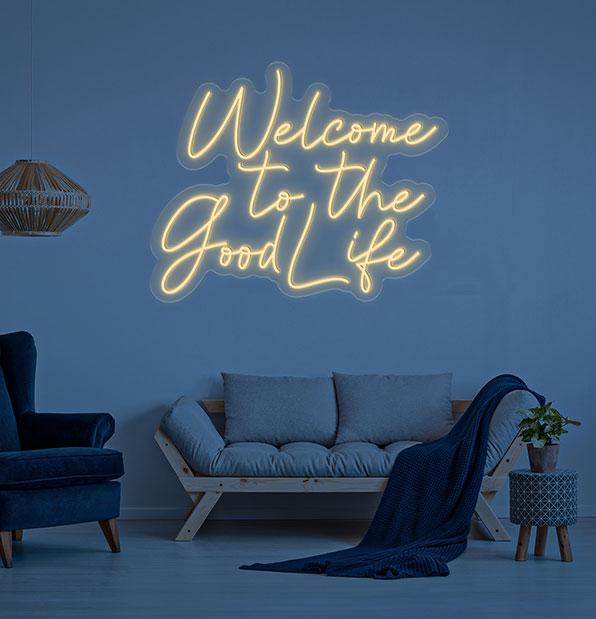
The Welcome to the Good Life neon sign is the epitome of modern luxury and sophistication. The words Welcome to the Good Life are elegantly crafted in vibrant neon tubing, creating a striking contrast against the backdrop. The choice of font and styling exudes a sense of opulence and exclusivity, making it a perfect addition to upscale bars, lounges, or homes.
With its timeless message and contemporary aesthetics, the 'Welcome to the Good Life' neon sign is more than just a piece of decor; it's an invitation to embrace the finer things in life and bask in the beauty of the moment.
Best Places to Install Welcome to the Good Life
-
Outdoor Patio or Deck
Hang the sign in your outdoor patio or deck area. It sets the mood for relaxation and enjoyment, welcoming friends and family to unwind and savour the good life outdoors. -
Home Bar or Entertainment Room
Install the neon sign in your home bar or entertainment room. It creates a vibrant and lively atmosphere, inviting guests to enjoy good times and celebrate life's pleasures. -
Man Cave or She Shed
In a dedicated personal space like a man cave or she shed, the sign reinforces the idea that this is where you can truly embrace the good life, pursue hobbies, and relax. -
Vacation Rental Property
If you own a vacation rental property, place the sign in the entryway or living room. It sets a welcoming and carefree tone, making guests feel like they've arrived at a destination for enjoying the good life. -
Hotel Lobby or Reception Area
If you manage a hotel or resort, consider featuring the sign in the lobby or reception area. It immediately conveys a sense of hospitality and luxury, enhancing the guest experience.
-
Sturdy Construction
Built to last, this neon sign is designed with durability in mind, ensuring years of reliable performance and visual appeal. -
Easy Installation
Comes with all necessary mounting hardware and instructions for hassle-free setup. -
Size Options
Available in a range of sizes to suit your specific space and design preferences. -
Power Efficiency
Energy-efficient neon technology ensures that you can enjoy the radiant glow without a significant impact on your electricity bills.
When you buy LED Welcome to the Good Life Lights from NeonChamp, you can expect your order to arrive promptly anywhere in the Australia. Whether you choose the rush or standard shipping option, we do our best to get your Neon Signs to you as soon as possible!
To safeguard your delivery, we offer a non-confusing clear refund policy. In addition, you can reach out to us for a full refund if the neon lights are faulty or damaged during transit.
Shipping DetailsUnboxing Your Neon Sign Kit
We know you are excited to receive your custom Welcome to the Good Life, which we pack with loads of love. But what’s inside should not be a mystery to you, that is why we uncover all the details.
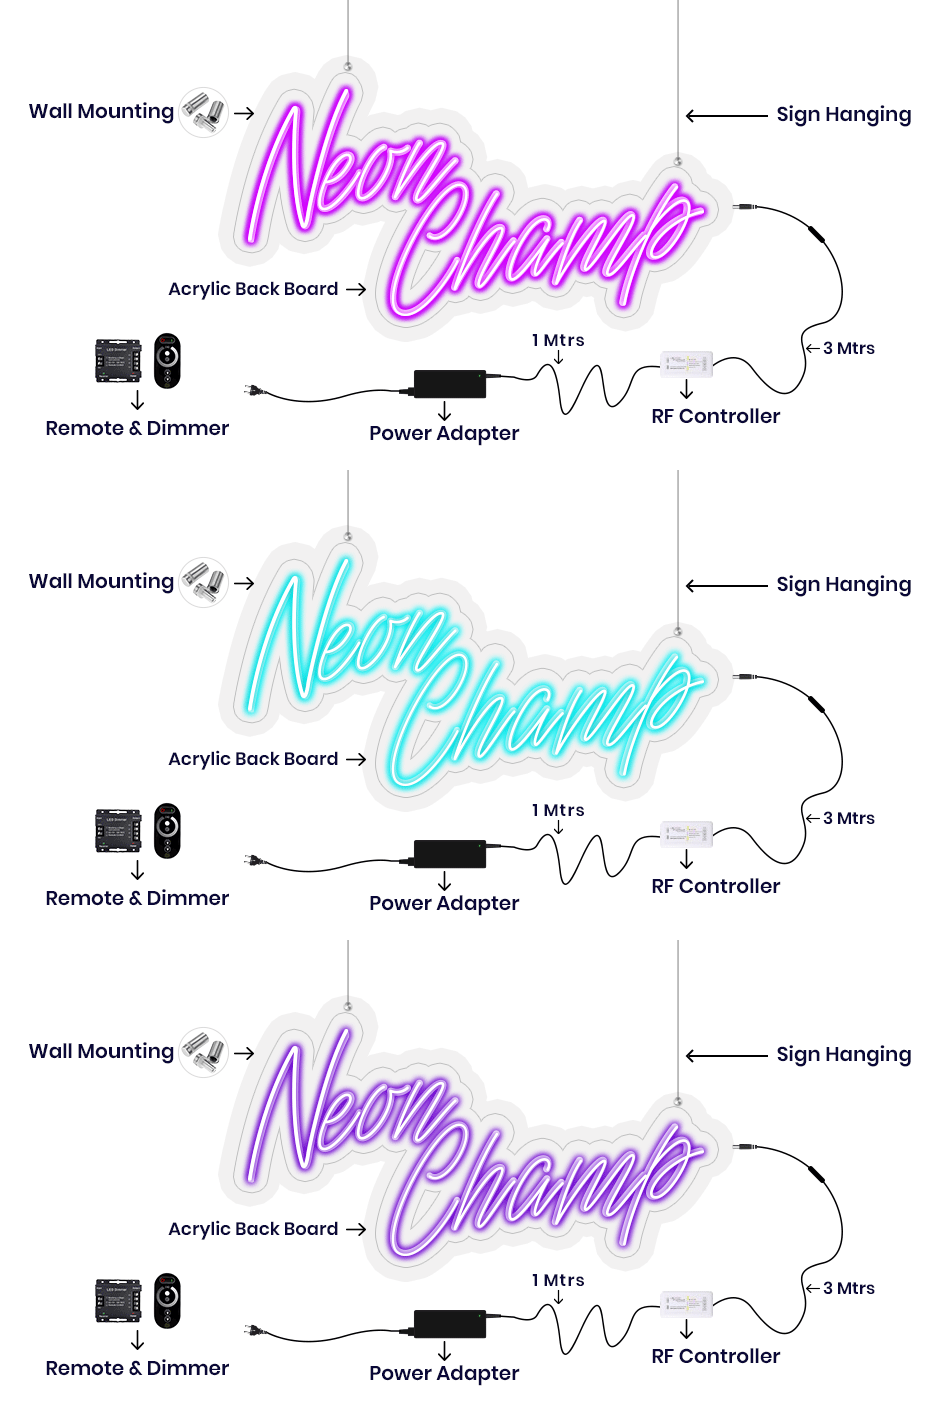
All the Neon signs that we send are well-equipped with clear acrylic boards having pre-drilled holes and SS mounting screws which makes hanging easy. Also, the neon signs are clubbed with a power cord which you can attach to power adapter. Also, you get an option to adjust the brightness of your custom-made neon sign via a remote controller.

Glow Your Neon Sign in Style with NeonChamp
First begin by plugging in the power adapter
Insert the power adapter safely to ensure that the neon light get started as you want
Next, connect the power adapter output to RF Controller
Now that the power adapter is safely inserted it's time to connect the power adapter to RF controller
Now connect RF Controller output to the Neon Connector
Next, connect the RF controller to the neon connector which is a very simple process and won't take much time
Adjust Brightness with remote controller and done.
Set the brightness using a remote controller according to your décor or mood and get it started.
Why NeonChamp
Energy & Cost Efficient
Free Delivery
3 Years Warranty
Easy Returns


