Product Description
Product Details
Shipping & Delivery
What You Get
Product Installation Guide
Add a touch of romance and magic to your special day with our Happily Ever After Neon Sign. Perfect for weddings, engagements, or anniversary celebrations, this sign will create a stunning backdrop for your photos and add a beautiful touch to your decor.
Whether you're looking to create a fairytale atmosphere or simply add a touch of romance to your celebration, our Happily Ever After Neon Sign is the perfect choice. With its stunning design and high-quality craftsmanship, it's sure to be a cherished part of your special day and a beautiful reminder of the love that brought you together.
Best Places to Install Happily Ever After Neon Sign
-
Photo Booth
The Happily Ever After Neon Sign can be installed in a photo booth at weddings, creating a stunning backdrop for guests to take pictures. To make it look even special, it can be used as a stand-alone piece or paired with other props, adding an extra touch of romance and magic to the photos. -
Wedding Arch
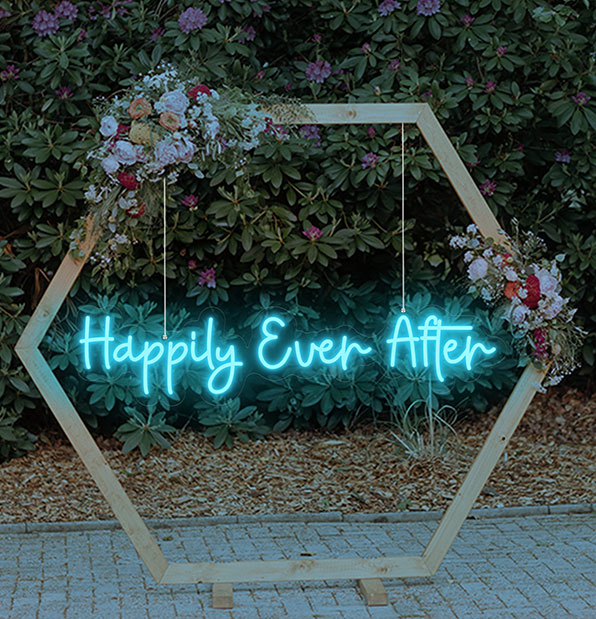
The Happily Ever After Neon Sign can be installed on a wedding arch, creating a beautiful and romantic focal point for the ceremony. It will add a touch of modern elegance to the traditional wedding decor and create a memorable experience for the couple and their guests. -
Bedroom
The Happily Ever After Neon Sign can also be installed in the couple's bedroom as a permanent reminder of their love and commitment. Try to hang it just above the bed or on the wall, adding a touch of romance and creating a cozy and intimate atmosphere.
We manufacture every neon sign at NeonChamp with eco-friendly LEDs and dimmers. With their low energy consumption, these LED neon signs are a cost-effective and energy-efficient choice for special occasions and party events.
-
Varied Sizes
Choose your LED Neon Signs available in different sizes, right from small to super large. -
Vibrant colors
Customize LED Neon Signs in your favorite color. -
Varied Styles
Select your favorite style, the backboard you prefer, the hanging option for the controller, and many other options.
When you buy LED Happily Ever After Neon Sign Lights from NeonChamp, you can expect your order to arrive promptly anywhere in the Australia. Whether you choose the rush or standard shipping option, we do our best to get your Neon Signs to you as soon as possible!
To safeguard your delivery, we offer a non-confusing clear refund policy. In addition, you can reach out to us for a full refund if the neon lights are faulty or damaged during transit.
Shipping DetailsUnboxing Your Neon Sign Kit
We know you are excited to receive your custom Happily Ever After Neon Sign, which we pack with loads of love. But what’s inside should not be a mystery to you, that is why we uncover all the details.
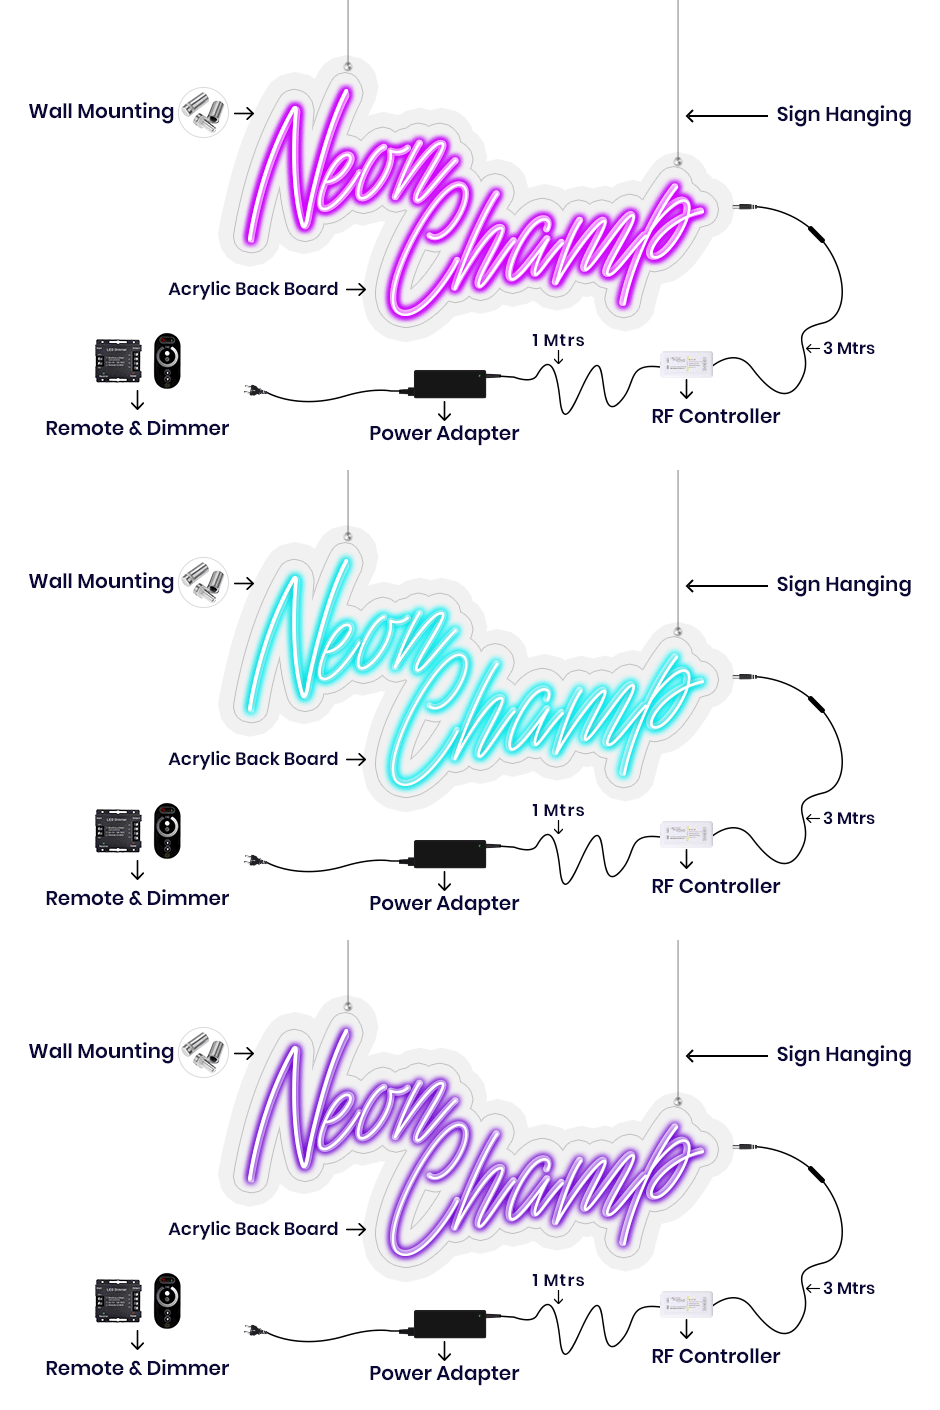
All the Neon signs that we send are well-equipped with clear acrylic boards having pre-drilled holes and SS mounting screws which makes hanging easy. Also, the neon signs are clubbed with a power cord which you can attach to power adapter. Also, you get an option to adjust the brightness of your custom-made neon sign via a remote controller.

Glow Your Neon Sign in Style with NeonChamp
First begin by plugging in the power adapter
Insert the power adapter safely to ensure that the neon light get started as you want
Next, connect the power adapter output to RF Controller
Now that the power adapter is safely inserted it's time to connect the power adapter to RF controller
Now connect RF Controller output to the Neon Connector
Next, connect the RF controller to the neon connector which is a very simple process and won't take much time
Adjust Brightness with remote controller and done.
Set the brightness using a remote controller according to your décor or mood and get it started.
Why NeonChamp
Energy & Cost Efficient
Free Delivery
3 Years Warranty
Easy Returns


